Are you a Mac user who’s been longing to join the PUBG craze? You’re not alone. PlayerUnknown’s Battlegrounds, or PUBG, is one of the most popular online multiplayer games in the world. However, not all computers are created equal, and not all of them can handle the game’s high graphics demands. So, can you play PUBG on Mac? The short answer is yes. But how? In this article, we’ll explore the different methods you can use to play PUBG on your Mac.
System Requirements for Playing PUBG on Mac

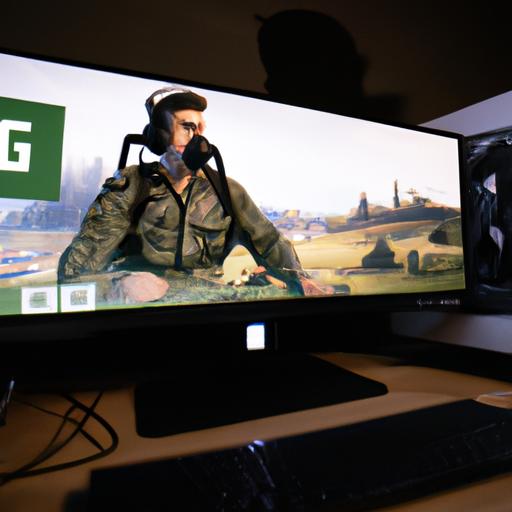
With Boot Camp installation, Mac users can enjoy PUBG’s intense gameplay
Before we dive into the different methods, let’s first discuss the system requirements for playing PUBG on Mac. These requirements will give you an idea of what you need to have on your Mac to play the game smoothly.
Minimum System Requirements
- Operating System: macOS Sierra (10.12.0) or later
- Processor: Intel Core i5-4430 or AMD FX-6300
- Memory: 8 GB RAM
- Graphics: NVIDIA GeForce GTX 960 2GB / AMD Radeon R7 370 2GB
- Storage: 30 GB available space
Recommended System Requirements
- Operating System: macOS High Sierra (10.13.6) or later
- Processor: Intel Core i5-6600K / AMD Ryzen 5 1600
- Memory: 16 GB RAM
- Graphics: NVIDIA GeForce GTX 1060 3GB / AMD Radeon RX 580 4GB
- Storage: 30 GB available space
It’s important to note that these requirements are for playing the game on a Mac natively, without using any third-party software. If you plan to use a virtual machine or a streaming service, the requirements may differ.
Methods for Playing PUBG on Mac
GeForce Now streaming offers Mac users an easy way to play PUBG without needing to install Windows
Now that you know the system requirements, let’s explore the different methods for playing PUBG on your Mac. There are three main methods: using virtual machines, installing Boot Camp, and streaming via GeForce Now. Let’s take a closer look at each one.
Using Virtual Machines
A virtual machine is a software that allows you to run an operating system within another operating system. In this case, you can use a virtual machine to run Windows on your Mac and play PUBG as if you were on a Windows computer. Some popular virtual machines for Mac include Parallels Desktop, VMware Fusion, and VirtualBox.
To use a virtual machine for playing PUBG on your Mac, you’ll need to have a copy of Windows and a license key. Once you have those, you can follow these steps:
- Download and install a virtual machine software of your choice.
- Follow the instructions to create a new virtual machine.
- Install Windows on the virtual machine and activate it using your license key.
- Install PUBG on the virtual machine and start playing.
One advantage of using a virtual machine is that you can switch back to your Mac’s native operating system anytime without having to restart your computer. However, using a virtual machine can be resource-intensive and may slow down your Mac.
Boot Camp Installation
Boot Camp is a built-in utility on Mac that allows you to install Windows on a separate partition of your hard drive. This means that you can dual boot your Mac and choose to start up in either macOS or Windows. To use Boot Camp for playing PUBG on your Mac, you’ll need:
- A copy of Windows and a license key
- A USB drive with at least 16 GB of storage
- Enough free space on your Mac’s hard drive to create a Windows partition
Once you have those, you can follow these steps:
- Open Boot Camp Assistant on your Mac.
- Follow the instructions to create a Windows partition on your hard drive.
- Insert your Windows installation USB drive and follow the instructions to install Windows on the partition.
- Install PUBG on Windows and start playing.
One advantage of using Boot Camp is that you can use your Mac’s full resources to play the game, as you’ll be running it natively on Windows. However, you’ll need to restart your Mac every time you want to switch between macOS and Windows.
Stay tuned for the next sections, where we’ll discuss the third method for playing PUBG on Mac and the advantages and disadvantages of each method.
Methods for Playing PUBG on Mac (cont’d)
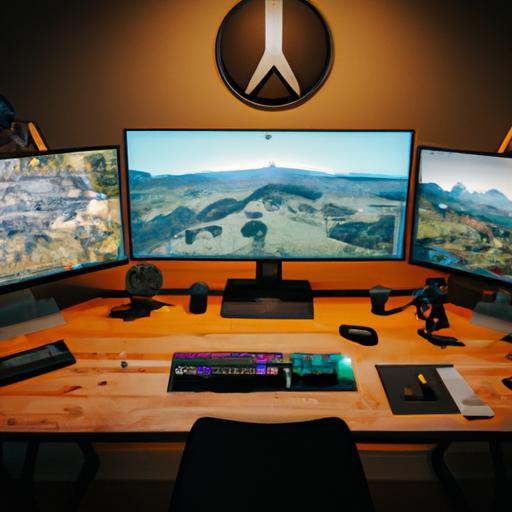
Mac users can set up their own virtual battle station for a seamless PUBG gaming experience
GeForce Now Streaming
GeForce Now is a cloud gaming service that allows you to stream games to your Mac. It’s a subscription-based service that offers access to a library of games, including PUBG. To use GeForce Now for playing PUBG on your Mac, you’ll need:
- A stable internet connection with a minimum speed of 15 Mbps
- A GeForce Now subscription
- A Mac running macOS 10.10 or later
- A supported game controller or mouse and keyboard
Once you have those, you can follow these steps:
- Download and install the GeForce Now app on your Mac.
- Log in to your account and select PUBG from the list of available games.
- Follow the instructions to start streaming the game.
- Connect your game controller or use your mouse and keyboard to play the game.
One advantage of using GeForce Now is that you don’t need to install Windows or use a virtual machine. The game is streamed to your Mac from Nvidia’s servers, which means you can play PUBG on a Mac that doesn’t meet the game’s system requirements. However, you’ll need a stable internet connection, and the quality of the game may depend on your internet speed.
Using Virtual Machines to Play PUBG on Mac
A virtual machine is a software that allows you to run an operating system within another operating system. In this case, you can use a virtual machine to run Windows on your Mac and play PUBG as if you were on a Windows computer. Some popular virtual machines for Mac include Parallels Desktop, VMware Fusion, and VirtualBox.
To use a virtual machine for playing PUBG on your Mac, you’ll need to have a copy of Windows and a license key. Once you have those, you can follow these steps:
- Download and install a virtual machine software of your choice.
- Follow the instructions to create a new virtual machine.
- Install Windows on the virtual machine and activate it using your license key.
- Install PUBG on the virtual machine and start playing.
One advantage of using a virtual machine is that you can switch back to your Mac’s native operating system anytime without having to restart your computer. However, using a virtual machine can be resource-intensive and may slow down your Mac.
Another advantage of using a virtual machine is that you can run other Windows software on your Mac, which can be useful if you need to use a Windows-only program for work or school. However, you may need to allocate more resources to the virtual machine to run both the game and other software smoothly.
In conclusion, there are different methods you can use to play PUBG on your Mac, each with its own advantages and disadvantages. Whether you choose to use a virtual machine, install Boot Camp, or stream via GeForce Now, make sure you have the right system requirements and follow the instructions carefully to ensure a smooth gaming experience. With these methods, you can enjoy playing PUBG on your Mac, no matter what model you have.
Boot Camp Installation for Playing PUBG on Mac
Boot Camp is a built-in utility on Mac that allows you to install Windows on a separate partition of your hard drive. This means that you can dual boot your Mac and choose to start up in either macOS or Windows. To use Boot Camp for playing PUBG on your Mac, you’ll need:
- A copy of Windows and a license key
- A USB drive with at least 16 GB of storage
- Enough free space on your Mac’s hard drive to create a Windows partition
Once you have those, you can follow these steps:
- Open Boot Camp Assistant on your Mac.
- Follow the instructions to create a Windows partition on your hard drive.
- Insert your Windows installation USB drive and follow the instructions to install Windows on the partition.
- Install PUBG on Windows and start playing.
The advantage of using Boot Camp is that you can use your Mac’s full resources to play the game, as you’ll be running it natively on Windows. This means that you’ll get the best performance possible and won’t have to deal with any compatibility issues. However, you’ll need to restart your Mac every time you want to switch between macOS and Windows. Additionally, you’ll need to allocate a significant amount of storage space for the Windows partition, which may be an issue if you have a small hard drive.
GeForce Now Streaming for Playing PUBG on Mac
GeForce Now is a cloud gaming service that allows you to stream games on any device, including Mac. With GeForce Now, you don’t need to install the game on your computer or have a powerful graphics card. Instead, you’ll be streaming the game from NVIDIA’s servers. To use GeForce Now for playing PUBG on your Mac, you’ll need:
- A stable internet connection with a minimum speed of 15 Mbps
- A GeForce Now account (you can create a free or paid account)
- A compatible controller or keyboard/mouse
Once you have those, you can follow these steps:
- Open the GeForce Now app on your Mac.
- Log in to your account and search for PUBG.
- Click on the game and start playing.
The advantage of using GeForce Now is that you don’t need to have a powerful Mac or install the game on your computer. You can play PUBG on any Mac as long as you have a stable internet connection. Additionally, you’ll get the benefit of NVIDIA’s servers, which means you’ll get the best performance possible. However, the service is not free, and you’ll need to pay for a subscription to use it for an extended period. Additionally, the quality of the streaming may be affected by your internet connection, which may result in lag or lower graphics quality.